DIY Makeover: How to Paint Your Bathroom Vanity Like a Pro
November 28, 2024 | by Diana Lane

Are you tired of staring at your outdated bathroom vanity? Fear not! To paint bathroom vanity is a cost-effective and fun way to breathe new life into your space. Whether you’re a seasoned DIY-er or someone who’s just handy with a paintbrush, this guide will help you achieve a professional finish without the professional price tag. Let’s jump in!
Why Should You Paint Your Bathroom Vanity?
A fresh coat of paint can transform even the dullest vanity into a showstopper. It’s an affordable alternative to replacement and gives you full control over the look and feel. From repainting bathroom cabinets to completely refinishing a vanity, the options are endless.
Not to mention, updating your vanity is an eco-friendly way to enhance your bathroom. Instead of discarding your old cabinet, why not repurpose it with some stylish paint?
What You’ll Need to Get Started
Before diving into painting, assemble the following essentials:
- Tools: Screwdrivers for removing hardware, painter’s tape, sandpaper (120- and 220-grit), and a degreaser.
- Paint Supplies: Primer, semi-gloss or satin paint, brushes, foam rollers, and drop cloths.
- Extras: Gloves, safety goggles, and a playlist for entertainment.
Step-by-Step Guide to Painting Your Bathroom Vanity
1. Prep Your Vanity Like a Pro
- Remove Hardware: Unscrew knobs, handles, and hinges. Take out drawers for easier access.
- Clean Thoroughly: Degrease the surface to remove oils and grime. This step is crucial for paint adherence.
- Sand the Surface: Lightly sand the vanity with 120-grit sandpaper to remove the old finish. Smooth it out with 220-grit for a clean surface.
2. Prime It Right
Primer ensures the paint adheres smoothly and hides imperfections. Use a stain-blocking primer, especially if you’re transitioning from a dark finish to a lighter shade.
3. Pick the Perfect Paint
- For bathrooms, semi-gloss or satin finishes work best due to their durability and moisture resistance.
- Popular colors include soft whites, grays, and bold tones like navy or forest green.
4. Painting Techniques
- Edges First: Use a small brush for edges and corners.
- Flat Surfaces: Foam rollers provide a smooth finish on flat panels.
- Apply thin, even coats and let each layer dry completely before adding another.
Creative Ideas for Painted Bathroom Vanities
Go Bold with Color
Dark colors like black or espresso add elegance, while vibrant shades like teal make a statement.
Try Two-Tone Finishes
Pair white cabinets with darker drawers or vice versa for a modern look.
Experiment with Finishes
Refinishing bathroom cabinets with chalk paint or glaze can give a vintage charm.
Before & After: Sealing the Deal
Once your paint is fully dry, reattach the hardware. For extra protection against water damage, consider applying a clear polyurethane sealer.
Painting Bathroom Cabinets FAQs
Can You Paint a Bathroom Vanity?
Absolutely! With the right tools and prep, painting wood bathroom cabinets or even laminate vanities is a straightforward process.
What’s the Best Way to Paint a Bathroom Vanity?
Proper cleaning, priming, and patience! Rushing through drying times can lead to uneven finishes.
Can I Restain My Bathroom Vanity Instead?
Yes! Restaining works well for wood surfaces, giving a refreshed natural look.
For more DIY bathroom inspiration, check out our blog on vanity styles.
And for expert painting tips, explore this helpful guide on painting techniques by Home Depot.
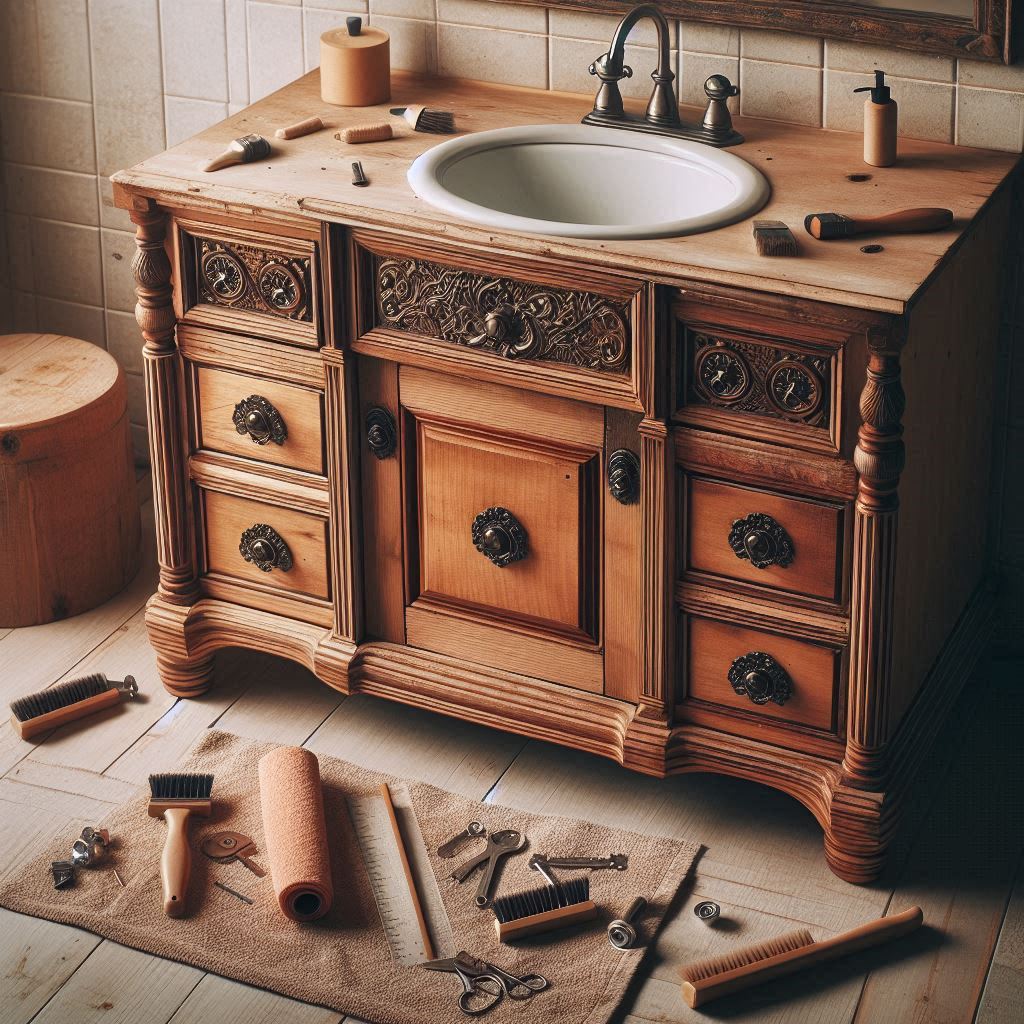
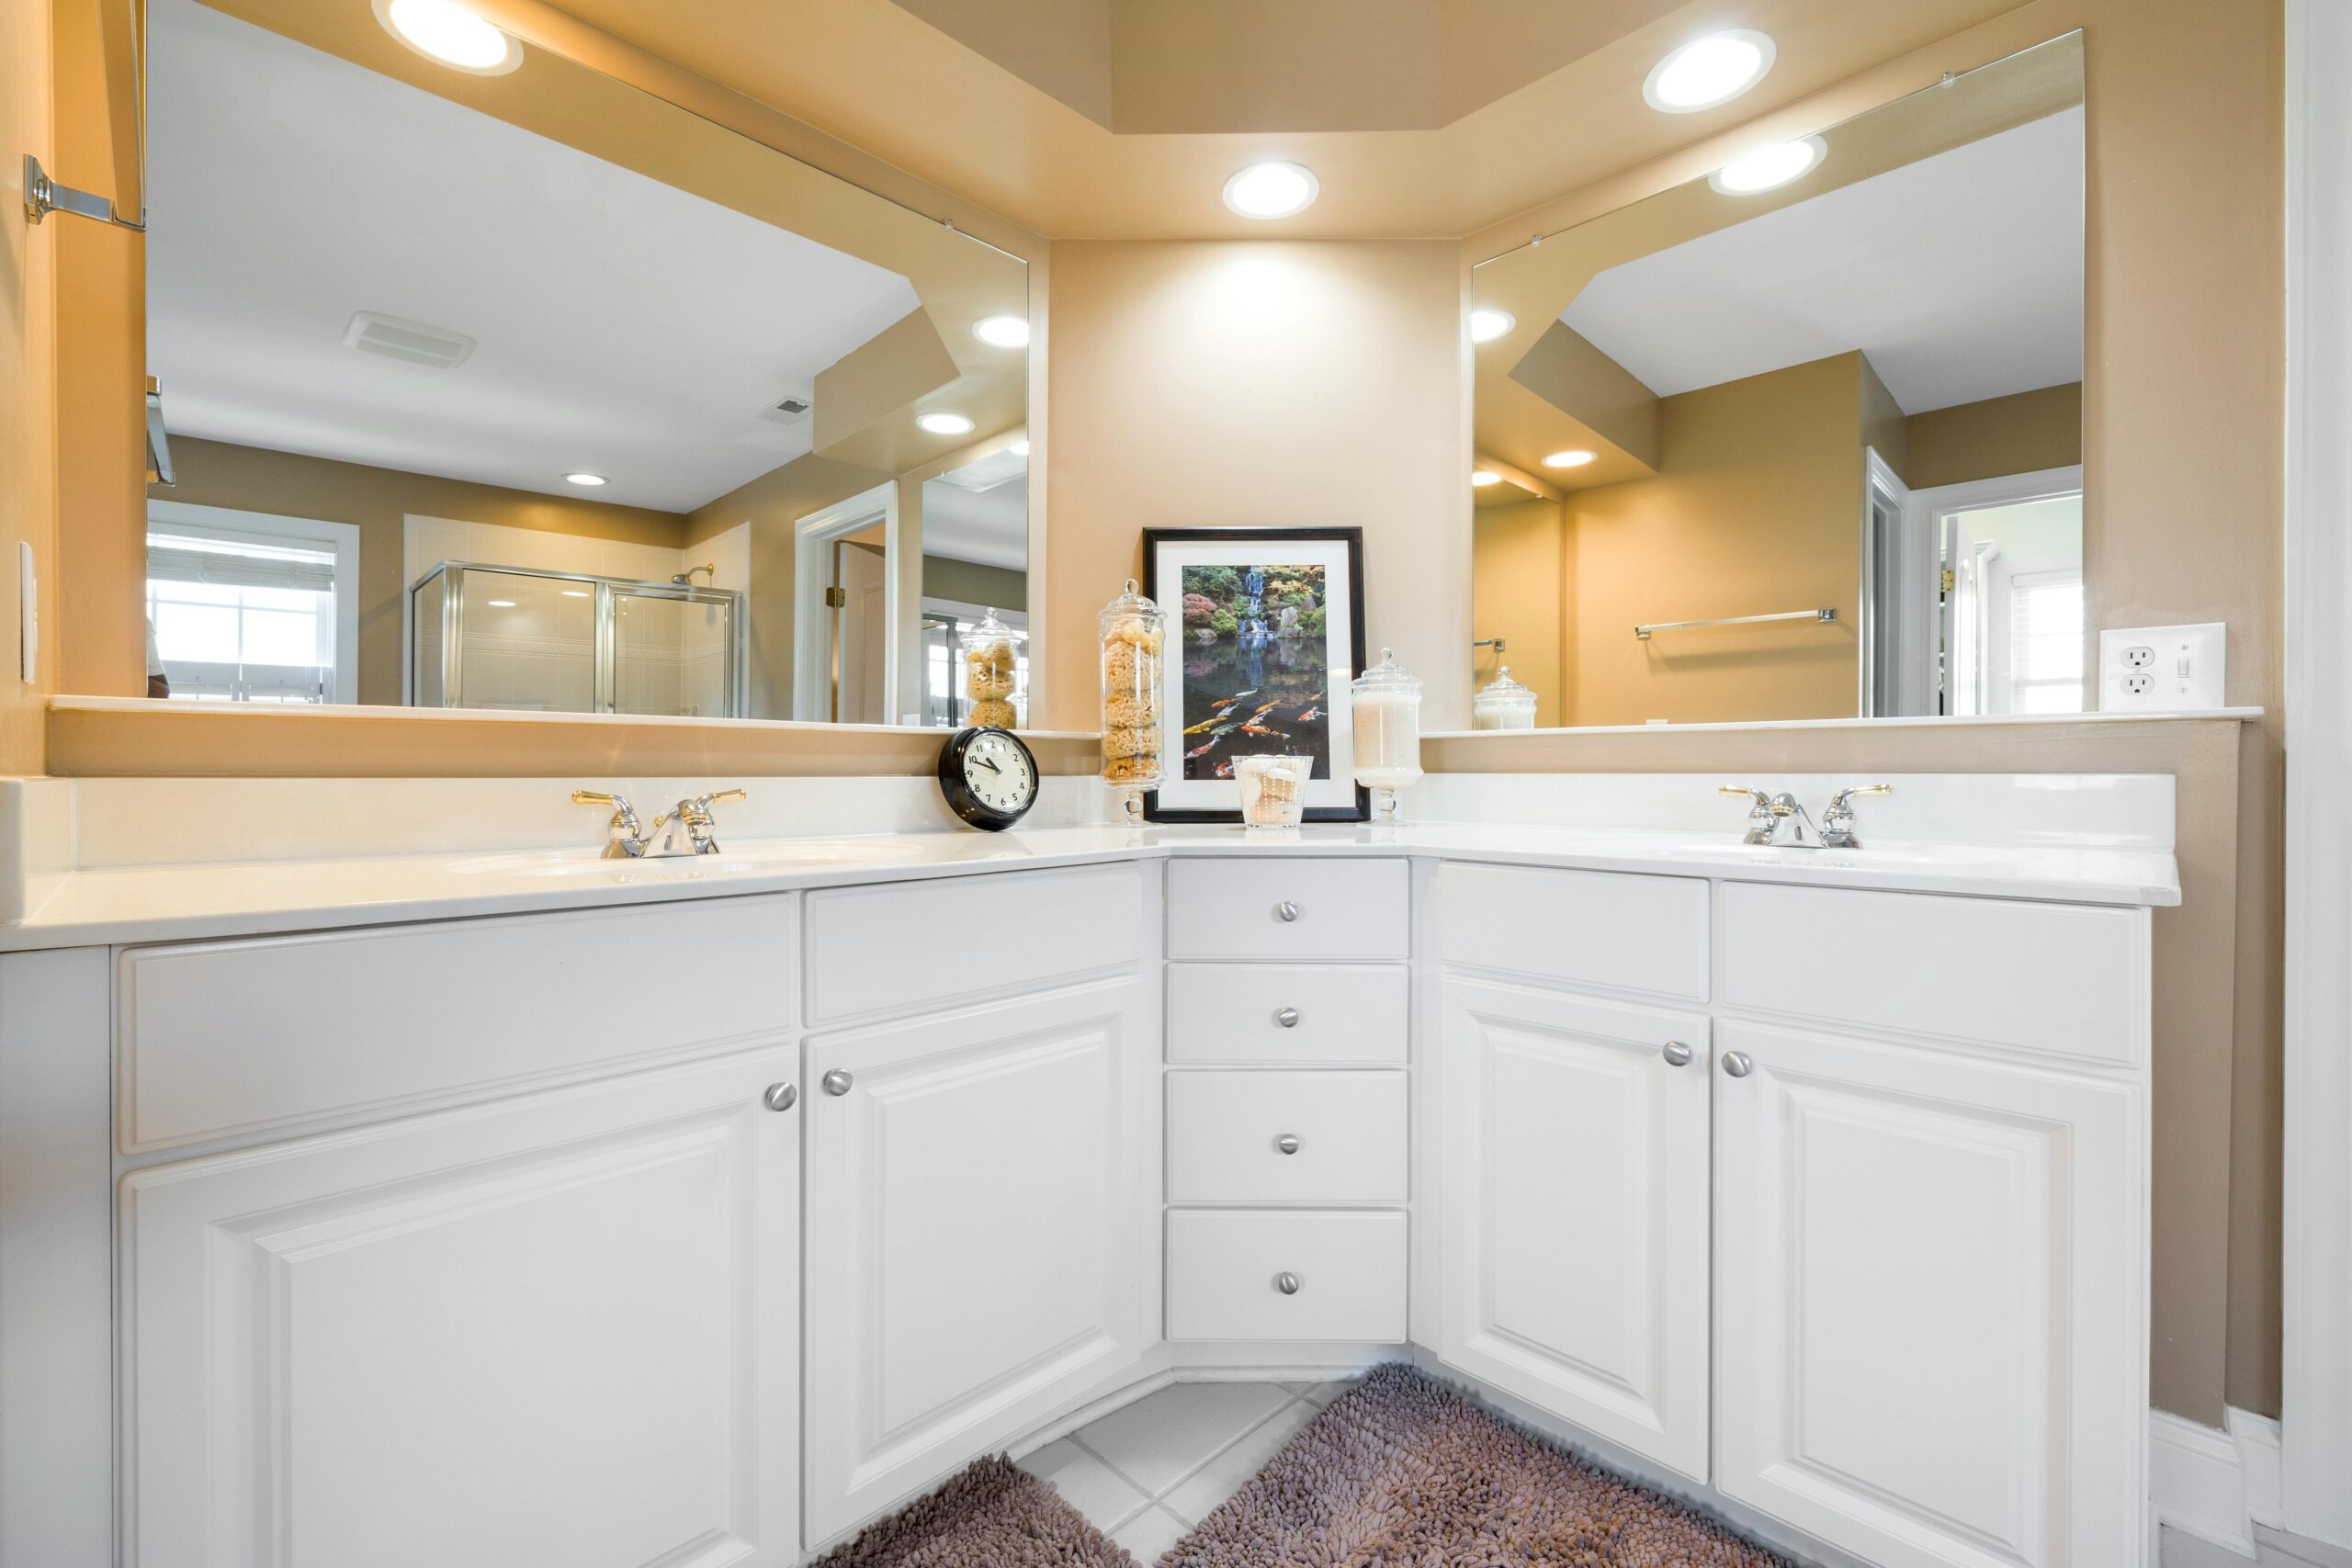
Image 1:
Caption: “Before and after: A plain oak vanity transformed with a sleek black finish.”
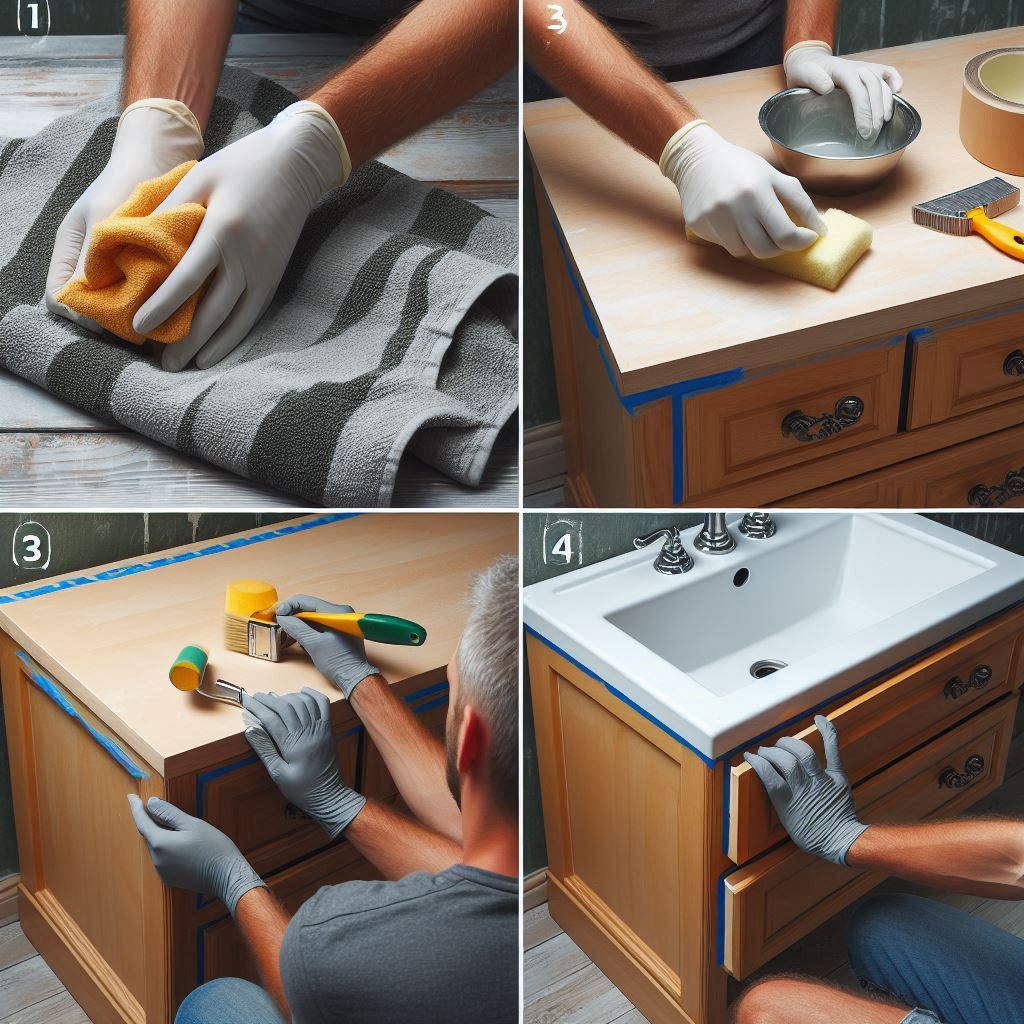
Image 2:
Caption: “Step-by-step process: Sanding and priming your vanity for a flawless paint job.”
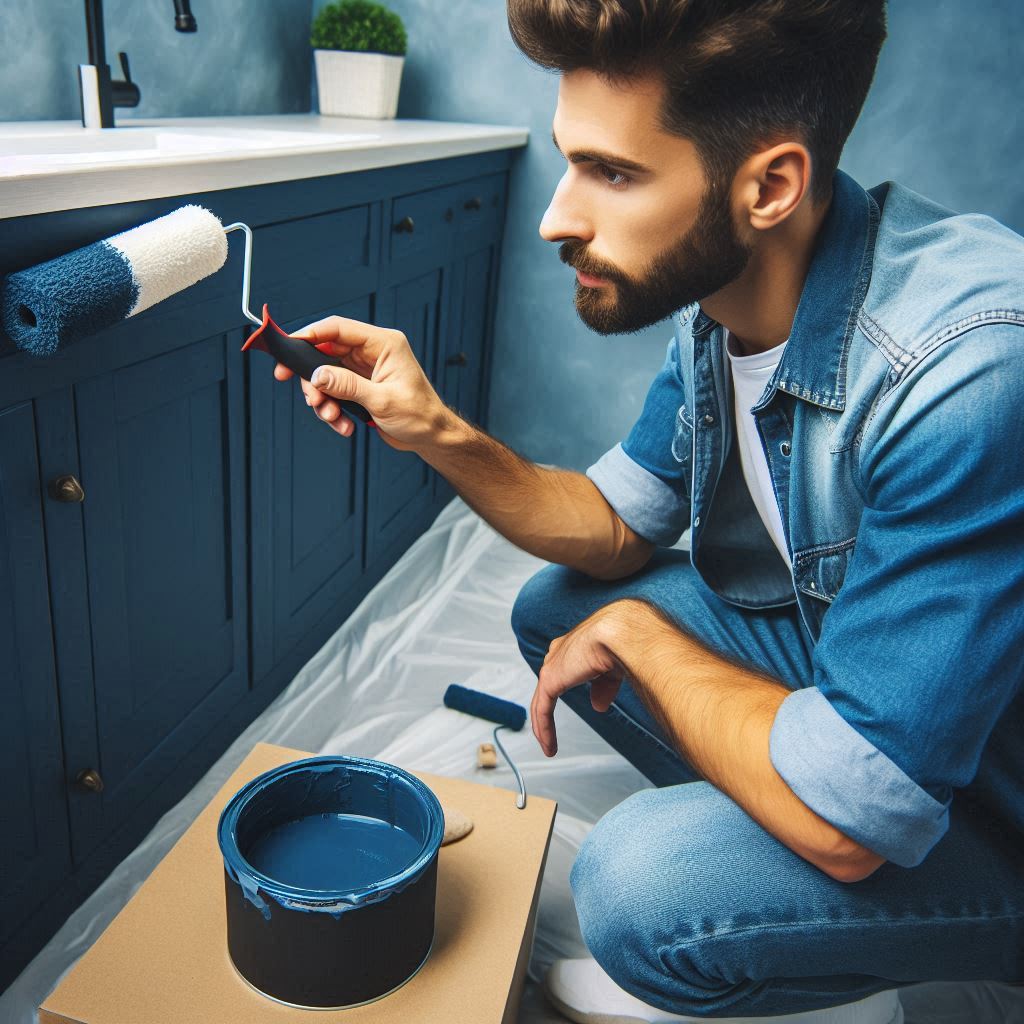
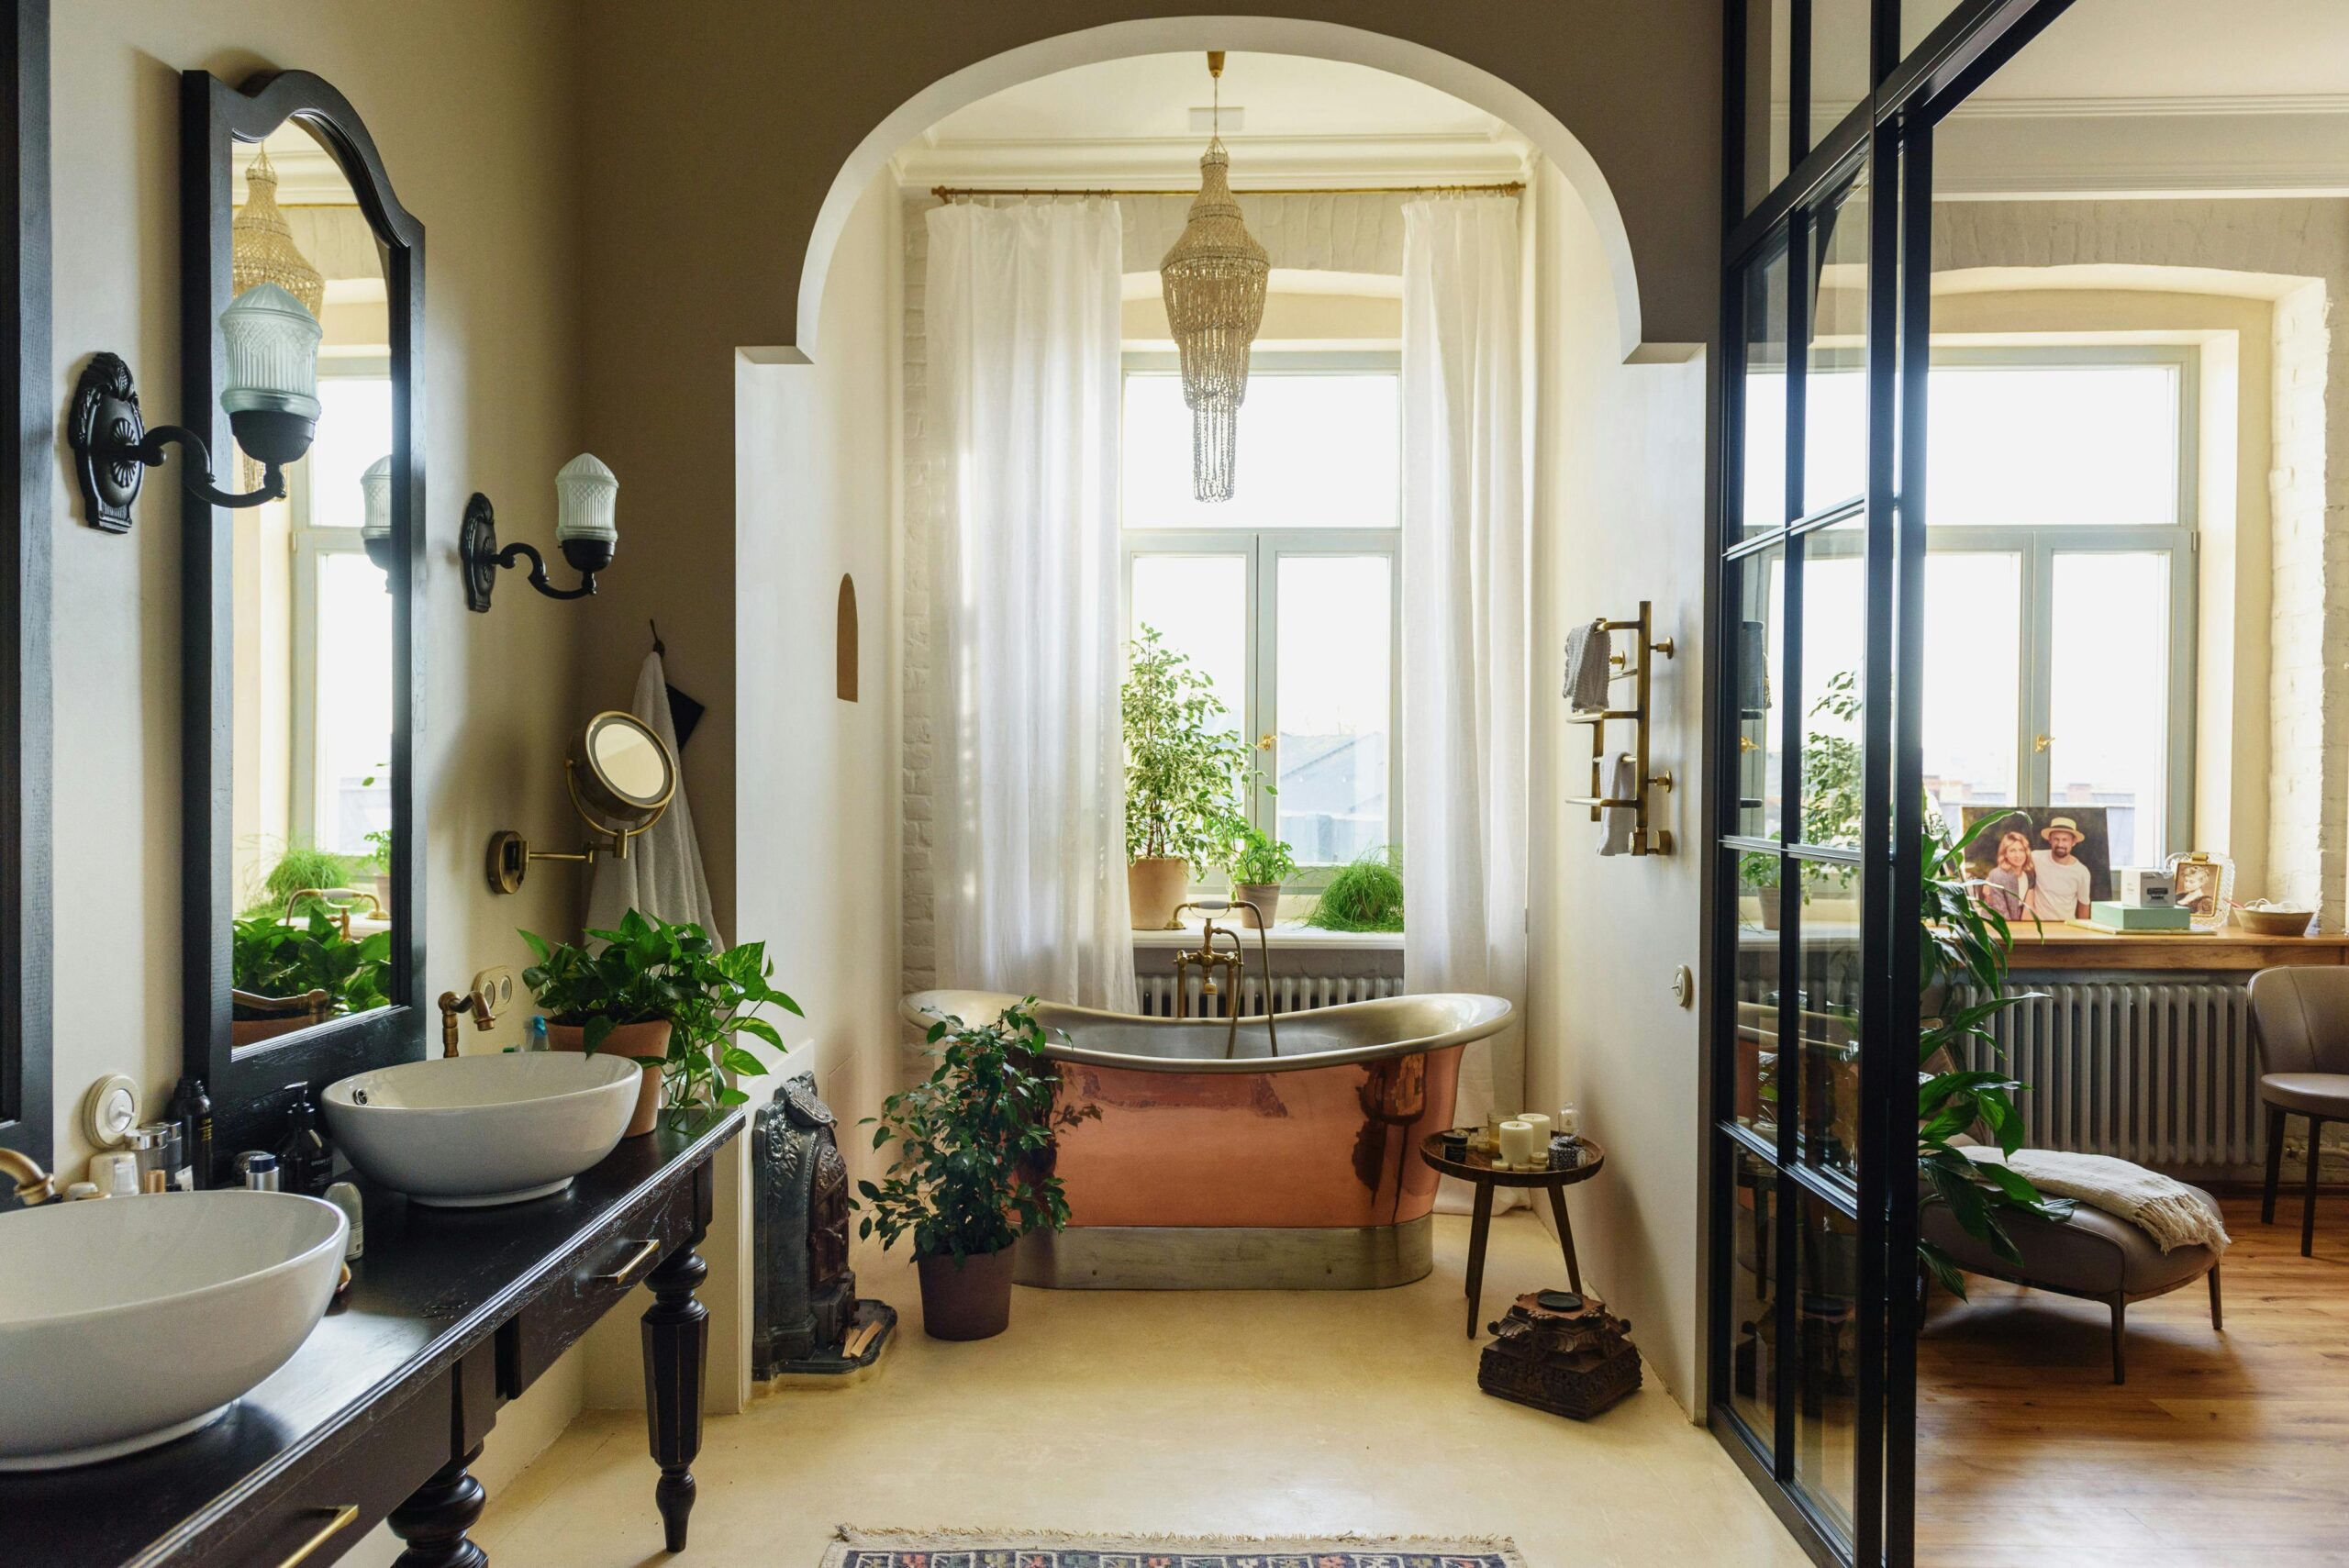
Image 3:
Caption: “Bold colors like navy add a modern touch to traditional bathroom vanities.”
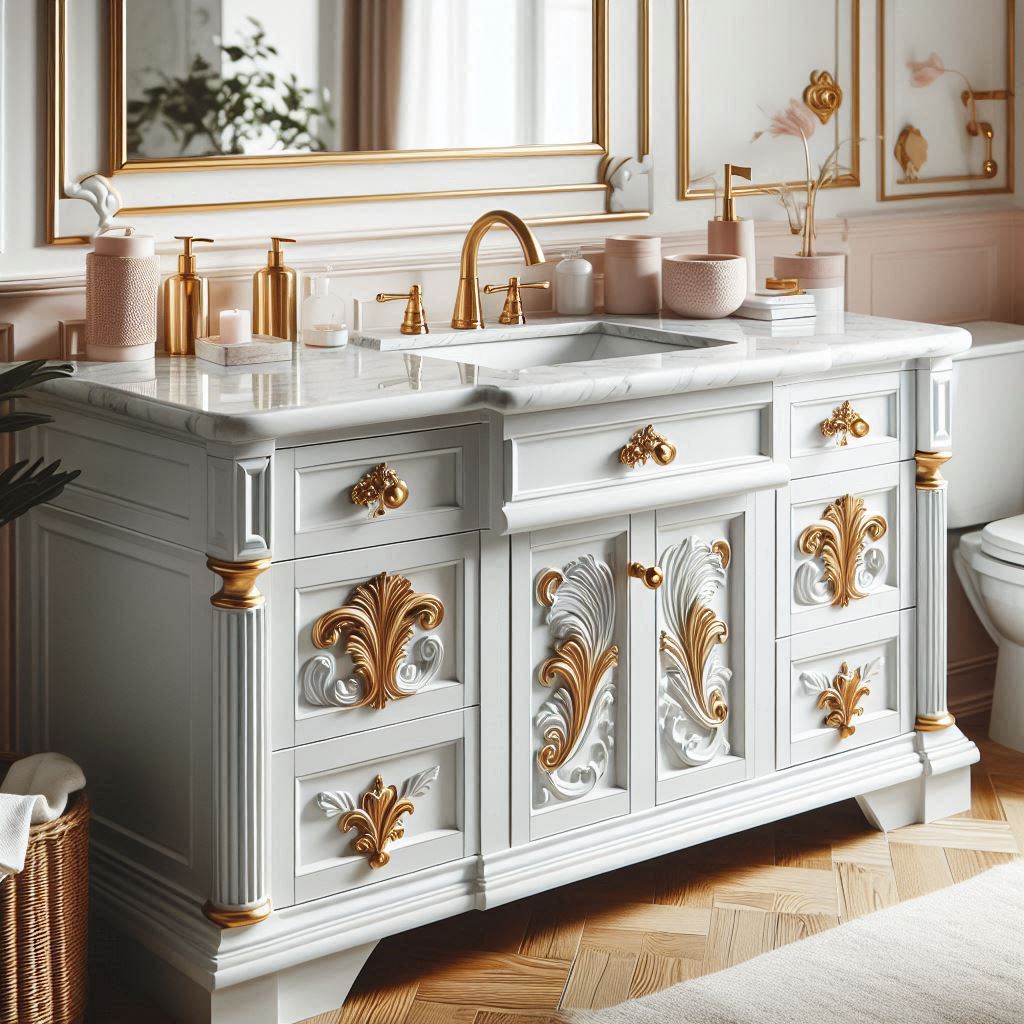
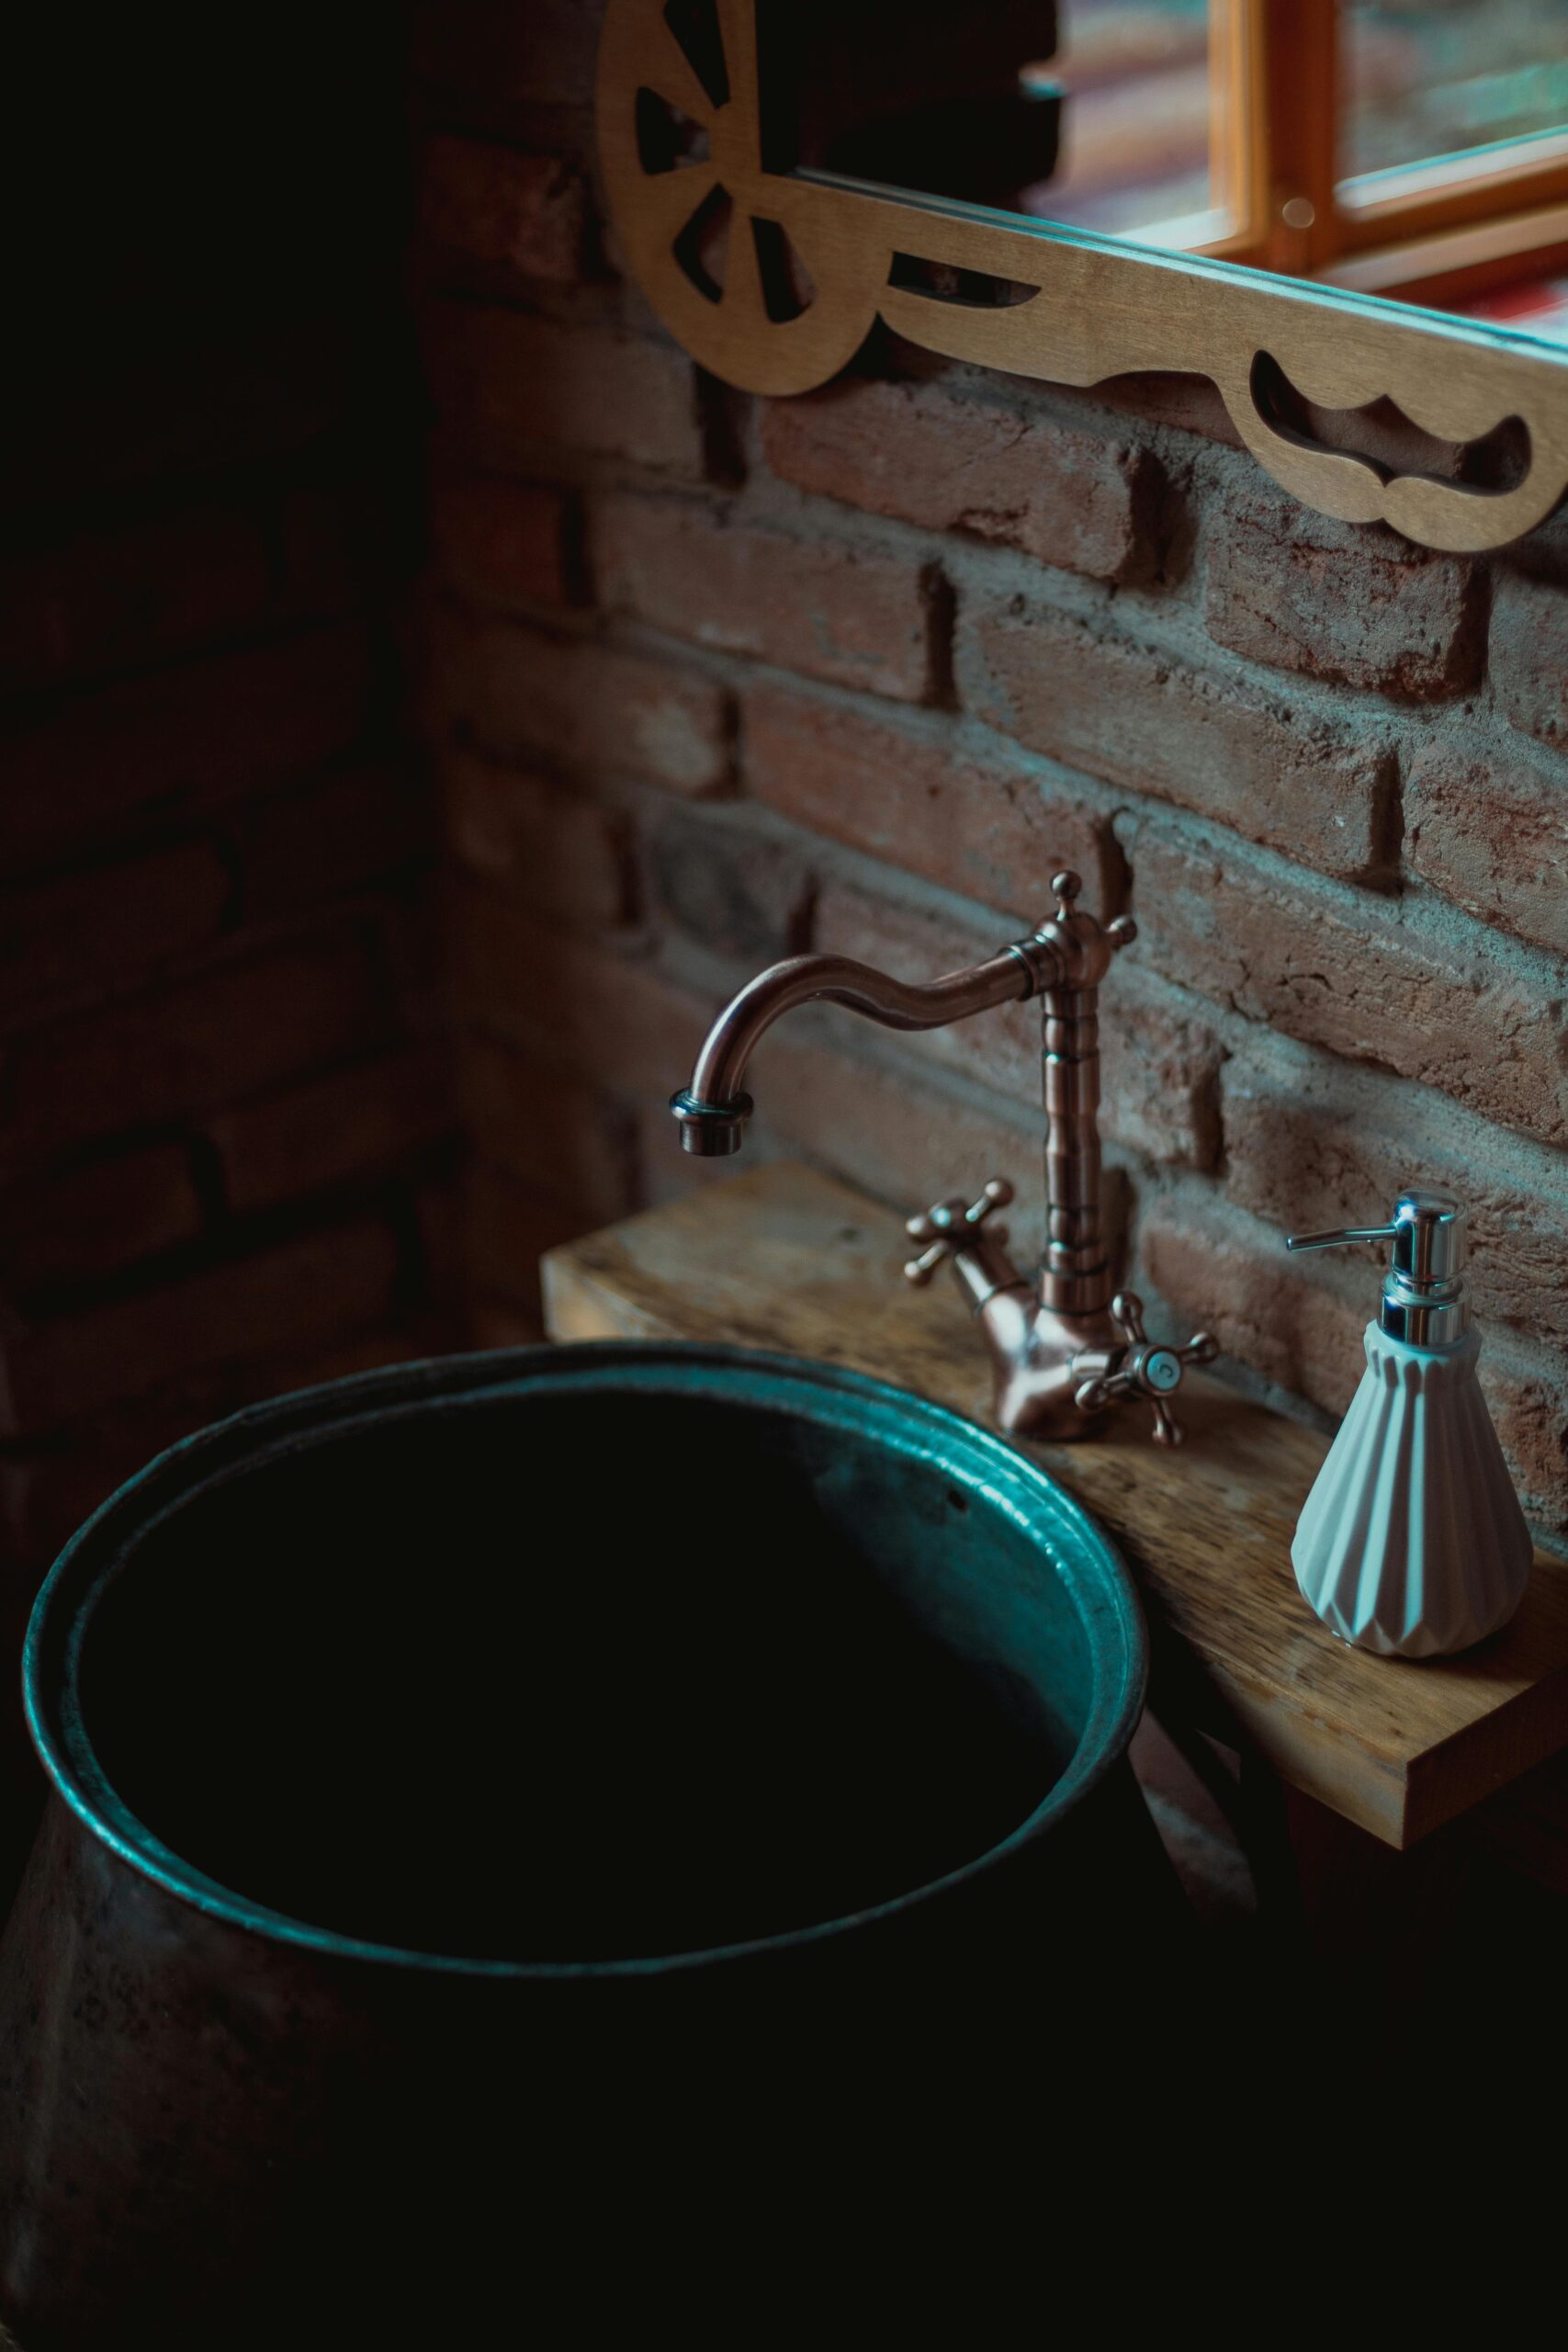
Image 4:
Caption: “Sealing the deal: A clear topcoat ensures durability and a polished finish.”
With just a weekend and some creativity, you can update your bathroom vanity with paint and turn it into a centerpiece. Not only will you save money, but you’ll also enjoy the satisfaction of completing a rewarding DIY project. Ready to grab that paintbrush? Go for it—you’ve got this!
RELATED POSTS
View all
Corner Bathroom Vanity: Maximize Space Efficiently
November 10, 2024 | by Diana Lane
Welcome to the Wonderful World of Bathroom Vanities!
October 31, 2024 | by M Jahan
Antique Bathroom Vanity: Find the Perfect Piece for Timeless Style
November 13, 2024 | by Diana Lane