Bathroom P-Trap Diagram: A DIY Guide to Drain Know-How
November 29, 2024 | by Diana Lane
When it comes to bathroom plumbing, the P-trap is the unsung hero of your sink, shower, and toilet. While it might not seem like the most glamorous topic, understanding the bathroom P-trap diagram can save you a world of plumbing headaches—and a call to your friendly local plumber. Let’s dive into the essentials with a humorous yet informative take on this bendy bit of brilliance!
What Is a P-Trap and Why Do You Care?
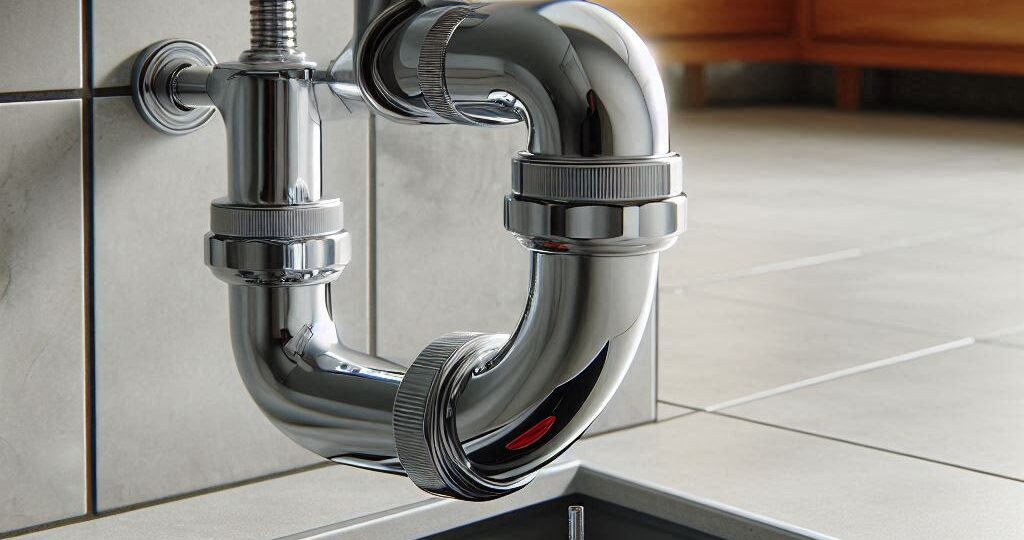
A P-trap is that U-shaped pipe located beneath your sink or shower drain. Its job? To block sewer gases from wafting into your bathroom while allowing waste and water to flow freely. Think of it as the bouncer at the plumbing club—keeping the unwanted guests out while letting the essentials pass through.
Pro Tip: If you’ve ever wondered why your bathroom suddenly smells funky, it’s probably because your P-trap has dried out or clogged.
Bathroom P-Trap Diagram: A Visual Breakdown
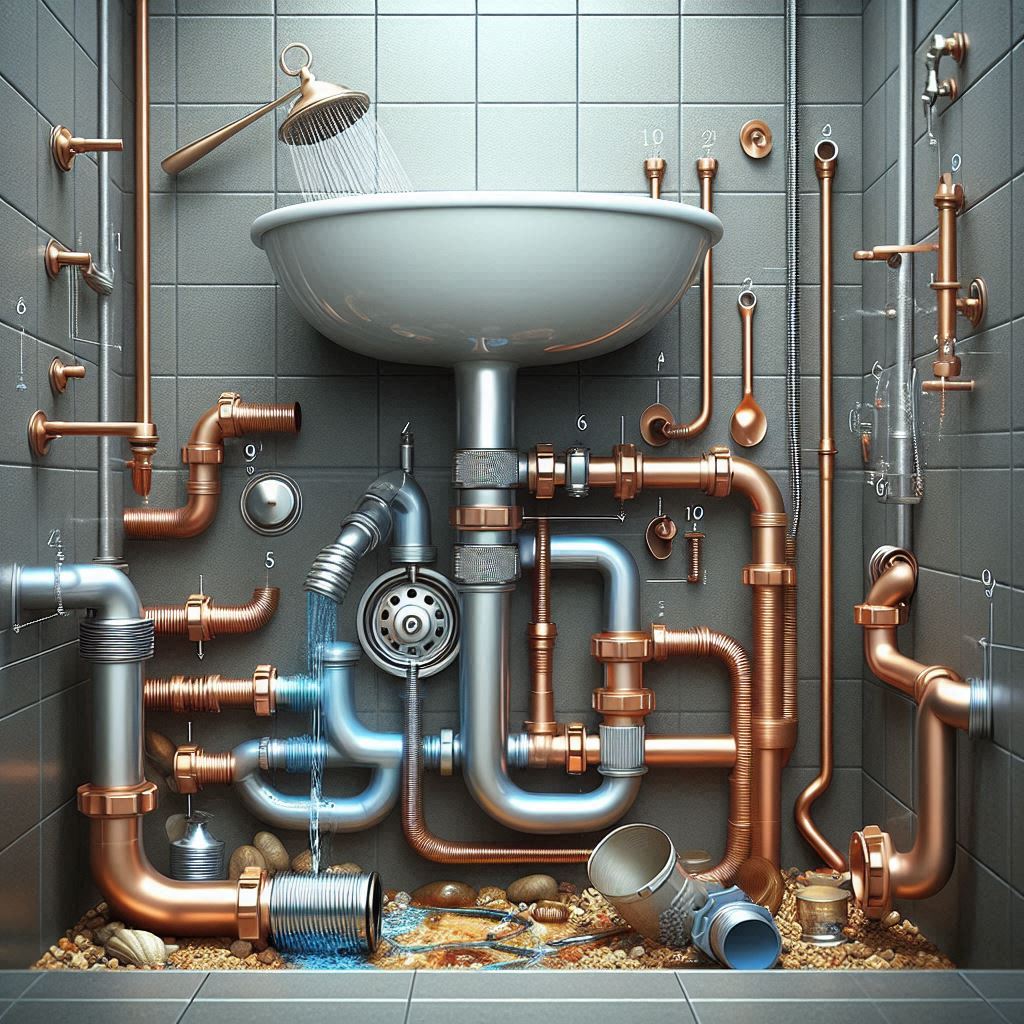
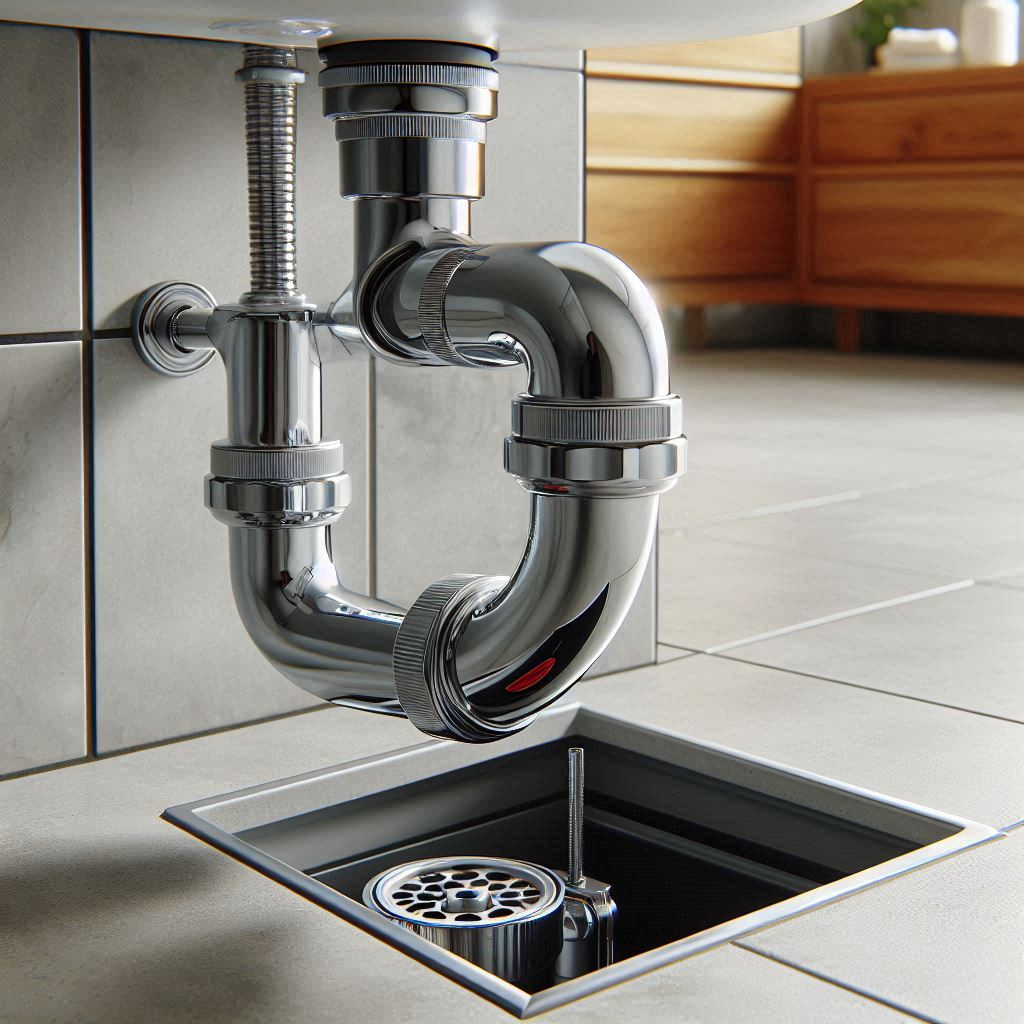
The key to understanding your bathroom’s plumbing lies in the P-trap diagram. Here’s what it typically includes:
- Drain Pipe: The horizontal pipe that carries waste from your sink or shower to the P-trap.
- P-Trap Bend: The U-shaped portion designed to hold a small amount of water, creating a seal against sewer gases.
- Tailpiece: The vertical pipe connecting the sink to the trap.
- Wall Pipe: The pipe leading waste into your home’s plumbing system.
Key Applications of Bathroom P-Traps
1. Sink Drain Diagram
Every bathroom sink features a P-trap. Its placement ensures that water flows freely while preventing odors from escaping. Regular cleaning keeps it clog-free.
2. Shower Drain Trap Diagram
Though hidden, the shower P-trap works similarly to the sink’s. It’s essential for trapping hair and soap scum while sealing off unpleasant odors.
3. Toilet P-Trap Diagram
Toilets come with built-in P-traps as part of their design, ensuring efficient flushing and odor control.
Common Issues and Fixes
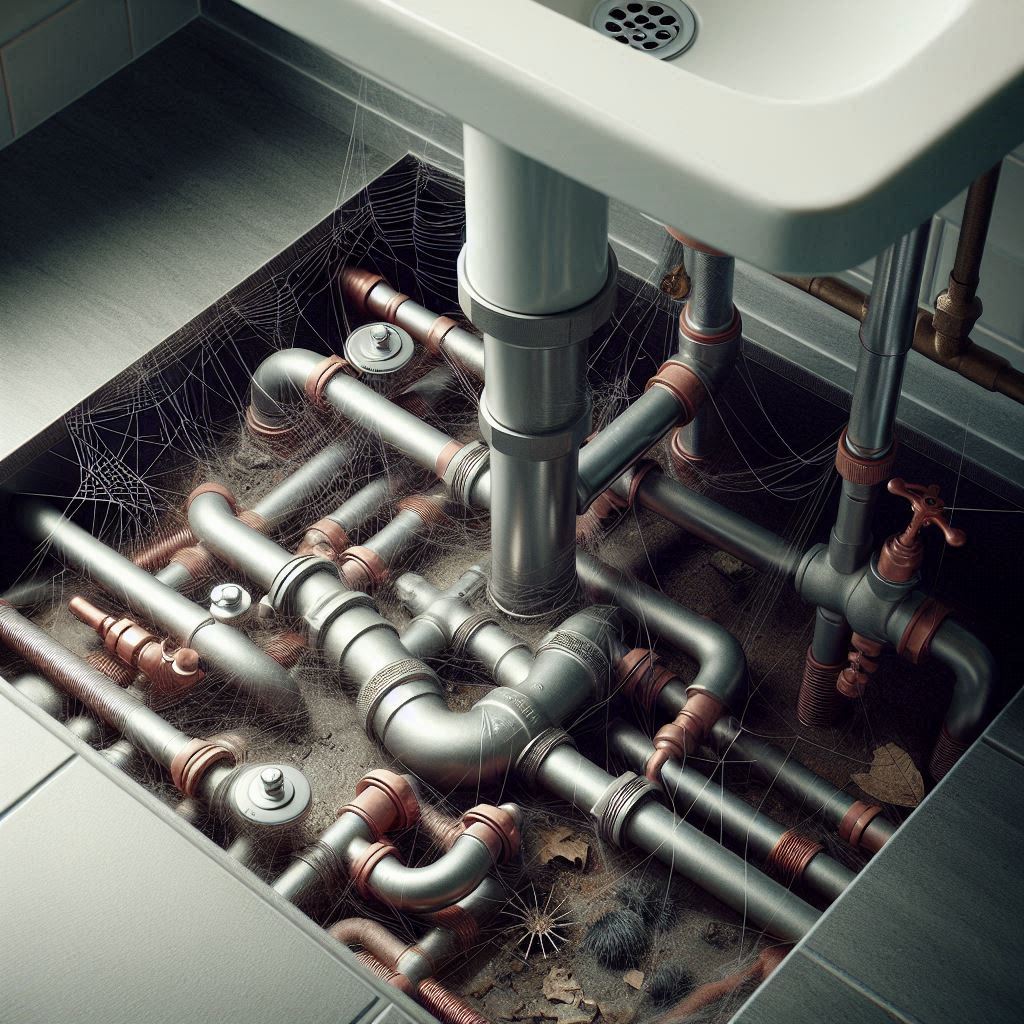
Clogs and How to Clear Them
Clogs are the P-trap’s arch-nemesis. From hair to soap scum, these can build up over time. Use a drain snake or a natural cleaner (like baking soda and vinegar) to keep things running smoothly.
Dry P-Trap Troubles
If you rarely use a sink or shower, the water in the trap can evaporate, breaking the seal. Run water occasionally to maintain the barrier.
Steps to Replace or Clean Your Bathroom P-Trap
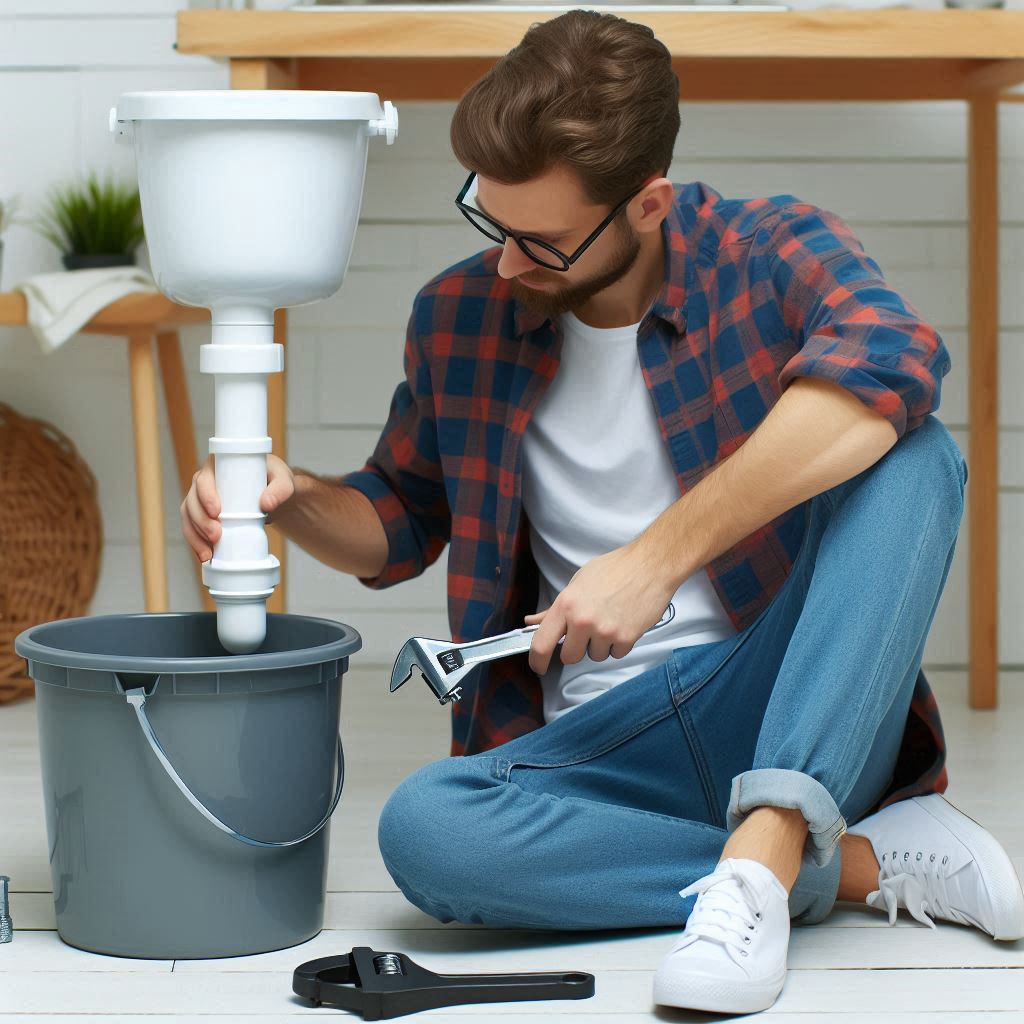
1. Gather Your Tools
You’ll need a wrench, a bucket, and a cleaning brush.
2. Remove the Old P-Trap
Place a bucket beneath the trap, unscrew the connectors, and remove the P-trap.
3. Clean or Replace
For minor clogs, clean the trap with a brush. If it’s damaged, replace it with a new one (available at your local hardware store).
4. Reattach and Test
Screw the new or cleaned trap back into place, ensuring a snug fit. Run water to check for leaks.
Before You Call a Plumber: DIY vs. Professional Help
Most P-trap problems are manageable with DIY solutions. However, if you notice persistent leaks or odors despite cleaning, it’s time to consult a professional.
Learn more about choosing the right bathroom vanity with built-in storage on The Perfect Vanity.
For in-depth plumbing guides, visit This Old House.
Why Every Homeowner Should Know Their P-Trap
A functioning P-trap ensures a clean, odor-free bathroom. By understanding its diagram and maintenance, you’ll save time, money, and frustration—leaving you to enjoy your vanity (and life) without smelly interruptions.
RELATED POSTS
View all

Vanity with Backsplash: Marrying Style and Functionality
November 30, 2024 | by Diana Lane

Bathroom Vanity Dark: The Perfect Touch of Elegance and Drama
November 16, 2024 | by Diana Lane

Creative Bath Sink Ideas to Transform Your Bathroom
November 29, 2024 | by Diana Lane